
Introduction
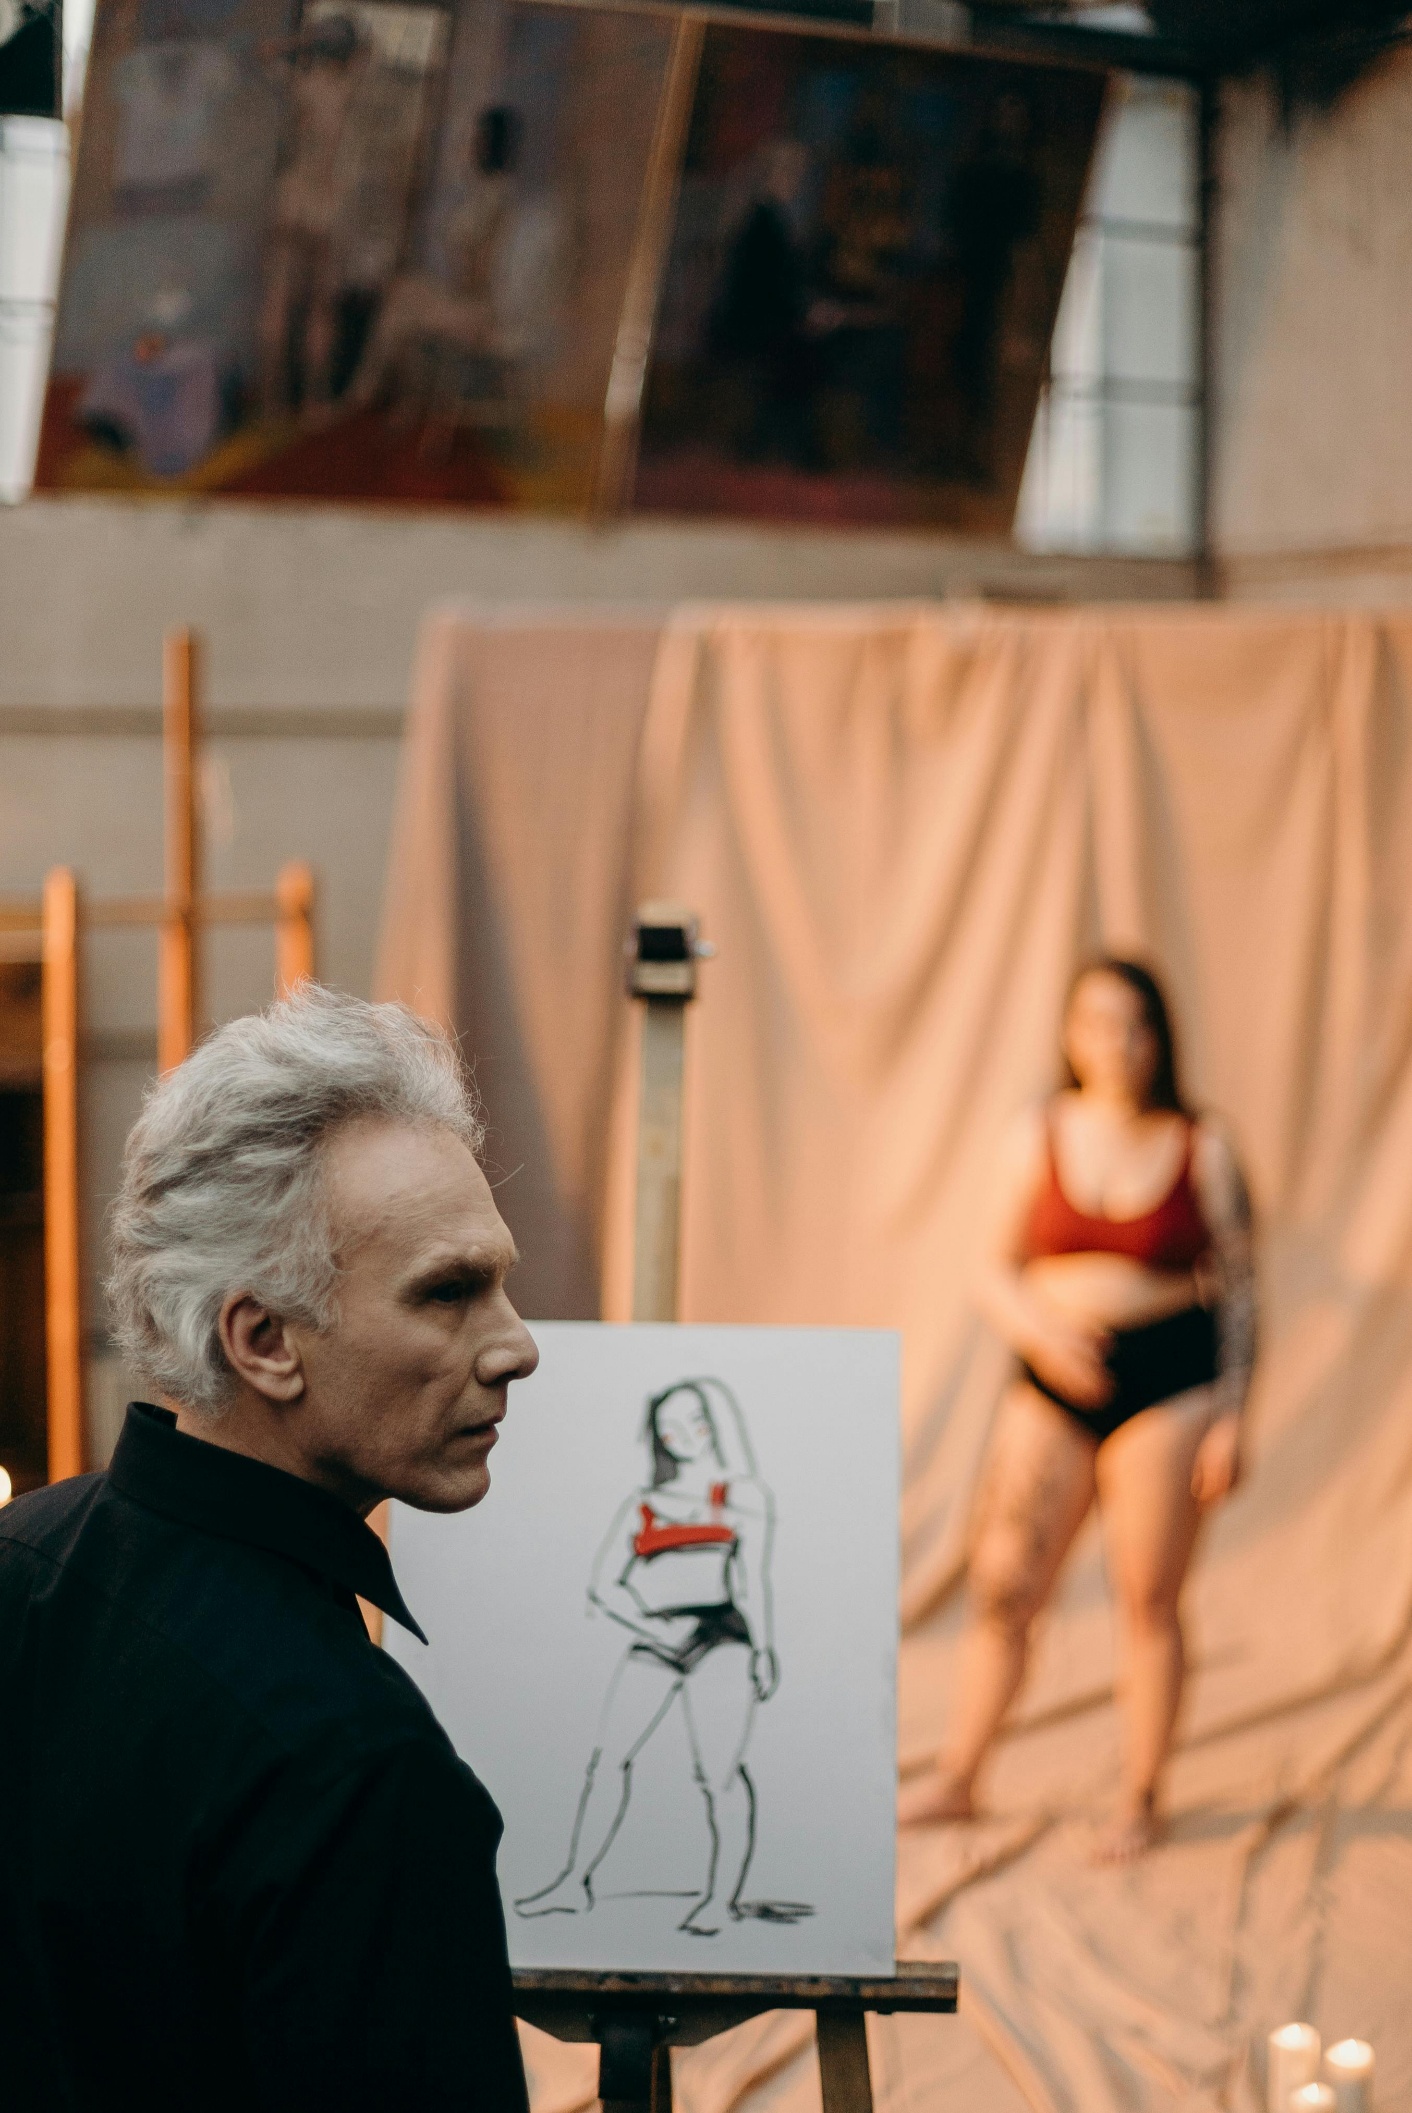
Fashion sketching is the language of fashion design. Before a garment is cut from fabric, before a pattern is made, before a factory receives a spec sheet — there is a sketch. A sketch that captures an idea, communicates a mood, and translates a creative vision into something tangible.
If you’re new to fashion design or dreaming of a career in it, developing your sketching ability is your single most powerful first move. And the good news? You do not need to be a born artist. Fashion sketching is a learnable technical skill — one that improves dramatically and quickly with the right instruction and consistent practice.
This guide walks you through everything: the tools, the proportions, the techniques, and the exercises that will take you from your first wobbly line to a confident, professional fashion illustration.
1. Why Fashion Sketching Matters
Fashion sketching serves multiple professional purposes that make it indispensable for designers at every level:
Design Ideation: Sketching is thinking on paper. The act of drawing forces you to commit to and refine ideas that might otherwise stay vague in your mind.
Client and Team Communication: When collaborating with pattern makers, manufacturers, or clients, a clear sketch communicates design intent far faster than words.
Portfolio Development: Your fashion illustrations are often the first thing a prospective employer or client sees. Strong sketching elevates every portfolio.
Creative Record: A filled sketchbook is an archive of your creative development — invaluable for reference, inspiration, and tracking your growth.
Even in an era of 3D design software and AI-generated images, hand sketching remains a core competency that distinguishes skilled designers from hobbyists.
Fashion croquis figure proportions sketched on paper showing body elongation
2. The Fashion Croquis Explained
The word “croquis” (pronounced kroh-KEE) comes from French, meaning “rough sketch.” In fashion, a croquis is the standardized elongated human figure that serves as the template for drawing garments.
Unlike realistic human proportions (which average 7–7.5 heads tall), the fashion croquis is typically 9 to 10 heads tall. This exaggerated proportion creates the aesthetic elongation associated with fashion illustration — the long legs, narrow torso, and elegant silhouette that show off garments beautifully.
Standard Fashion Croquis Proportions
- **Head:** The unit of measurement. Everything else is measured in “heads.”
- **Shoulder line:** 1.5 heads from the top
- **Bust line:** 2 heads from the top
- **Waist line:** 3 heads from the top
- **Hip line:** 4 heads from the top
- **Knee:** 6 heads from the top
- **Ankle:** 8.5–9 heads from the top
Print or trace croquis templates to begin with — there’s no shame in using templates as a learning tool. As your skills develop, you’ll internalize these proportions and draw freehand with confidence.
3. Understanding Fashion Proportion
Proportion is the foundation of believable fashion illustration. The most common beginner mistake is drawing figures that look awkward because the proportions are off — a head too large, legs too short, arms too long.
Key proportions to internalize:
- **Arms** reach from shoulder to mid-thigh on the fashion figure
- **Hands** are roughly the same size as the face
- **Shoulders** are approximately 1.5x the width of the hips in a standard female figure (reverse for male)
- **The natural waist** sits 3 heads from the top, well above where jeans typically sit
- **Feet** are one head length long
Study real fashion photographs and runway images, not to copy them but to train your eye to read body proportions accurately.
4. Tools and Materials You Need
One of the joys of fashion sketching is that you don’t need expensive tools to start. Here’s what to gather:
Essential Tools for Beginners
Paper:
- Layout/marker paper (semi-transparent, perfect for tracing croquis and layering sketches)
- Sketchbooks (any quality — consistency of use matters more than quality at this stage)
Pencils:
- HB pencil for light construction lines
- 2B or 4B for darker final lines
- Fine-point black ink pen (Micron 05 or Staedtler) for final line work
Markers:
- Copic or Prismacolor alcohol-based markers are the industry standard for rendering garments
- Start with a limited palette of 12–24 colors including skin tones, neutrals, and 2–3 fashion colors
Other essentials:
- Ruler and French curves for technical straight lines
- Kneaded eraser
- Colored pencils for texture details
Digital Tools (Optional, but increasingly important)
- iPad + Apple Pencil with Procreate ($12.99 one-time) — industry-standard digital sketching
- Adobe Fresco (free with Adobe subscription)
- Clip Studio Paint

Digital fashion illustration created on iPad with Apple Pencil
5. Step-by-Step: Drawing Your First Fashion Figure
Follow these steps sequentially. Don’t try to skip steps — each builds on the last.
Step 1: Draw the Vertical Action Line
Draw a light vertical line approximately 25cm tall. This is your center axis and will keep your figure balanced.
Step 2: Mark the Head
At the top of your line, lightly sketch an oval for the head. This head size becomes your unit of measurement for the rest of the figure.
Step 3: Mark the Key Points
Using your head as a measuring unit, make small horizontal marks at the positions for shoulders (1.5 heads), bust (2 heads), waist (3 heads), hips (4 heads), knees (6 heads), and ankle (8.5 heads).
Step 4: Block in the Torso
Draw the shoulder line as a horizontal shape (wider than hips), then draw two curved lines connecting shoulders to the bust/waist area. The torso tapers at the waist, then gently widens to the hip.
Step 5: Add the Legs
From the hip points, draw two slightly tapered forms narrowing to the knees, then continuing to the ankles. Fashion legs are long and elegant — don’t make them too short.
Step 6: Add the Arms
Arms hang from the shoulder joint and have a slight curve. The elbow falls at the waist level. The hand reaches mid-thigh.
Step 7: Refine and Add the Head
Sketch the neck (surprisingly narrow — about 1/3 of the head width), then refine the head shape. Add minimal facial features: a horizontal guideline at mid-face for the eyes, another midway below for the nose, another for the mouth.
Step 8: Draw the Garment
Now that your figure is established, draw the garment over it. Think of fabric falling over the body — it follows contours at pressure points (shoulders, bust, hips) and falls away from the body elsewhere. Indicate folds and drape with flowing lines from these pressure points.
Step 9: Ink and Erase
Once happy with your pencil sketch, trace the final lines in black ink. Let dry completely, then erase all pencil marks.
Step 10: Render
Apply color using markers, colored pencils, or digital tools. Start light and build up depth. Leave highlights on shiny fabrics.
6. How to Sketch Different Clothing Categories
Tops and Blouses
Focus on the neckline shape, sleeve style, and where the hem falls relative to the figure’s waist. Indicate drape and gathering with light curved lines flowing from seams.
Trousers and Skirts
Draw the waistband first, then indicate the silhouette shape — tapered, wide-leg, A-line, pencil. Show the crotch curve on trousers. Indicate fabric weight through the amount of fold and drape lines (fewer lines = stiff fabric, more flowing lines = soft fabric).
Dresses
Combine the elements of tops and skirts. Pay special attention to how the dress interacts with the body — where it clings, where it falls away.
Outerwear (Coats and Jackets)
Draw larger and slightly further from the body to indicate the garment’s bulk. Structured outerwear has sharper, more geometric lines. Unstructured outerwear has softer, more flowing lines.
Accessories
Draw shoes from a three-quarter perspective. Handbags are drawn in perspective, slightly separated from the body. Jewelry is indicated with light lines and dots rather than heavy detail.
7. Rendering Fabrics and Textures
The ability to make a flat sketch communicate the feel and weight of a fabric is what separates skilled illustrators from beginners.
Silk and Satin: Long, flowing drape lines. Strong highlights (leave white space or use a white pen). Luminous, gradient color application with smooth transitions.
Denim: Angular, structured fold lines. Slightly uneven color application suggesting worn texture. White pencil for topstitching details.
Knitwear: Indicate the knit texture with light hatching or crosshatching across the garment surface. Softer, more organic fold lines. Thicker hems and ribbing at cuffs.
Lace: Draw the base garment shape first, then add an organic, irregular network of dots and fine lines over the top to suggest lace pattern. Leave some areas lighter to show the sheer quality.
Leather: Very few drape lines — leather is stiff. Strong sharp highlights. Deep, dark shadows in folds.
Chiffon: Extremely light, flowing, multi-layered drape lines. Barely-there color — build up very gradually. Ruffles and flyaway edges.
8. Digital Fashion Sketching Tools
Digital sketching has become a core industry skill. The main tools:
Procreate (iPad): The most popular digital sketching tool for fashion illustrators. Intuitive, powerful brushes, natural drawing feel with Apple Pencil. One-time purchase under $15.
Adobe Illustrator: The industry standard for technical flats — the “blueprint” drawings used for production. Not ideal for expressive fashion illustration but essential for professional workflow.
Adobe Fresco: Better than Illustrator for expressive fashion illustration. Excellent brush library, integrates with Photoshop.
CLO 3D: Advanced 3D garment visualization software. Used by major fashion brands to design, visualize, and fit garments before physical samples are made. Steep learning curve but increasingly essential.
Canva: For fashion presentation boards and portfolio layout, not sketching itself. Useful for arranging and presenting work professionally.
9. Practice Exercises to Improve Fast
Daily Warm-Up: 5 Croquis in 5 Minutes
Draw five quick, gestural fashion figures every morning. Don’t aim for perfection — aim for looseness and speed. This trains your hand to draw the proportions automatically.
Garment Copy Exercise
Choose a fashion photograph from a magazine or website. Sketch the garment shown as accurately as you can. This trains your eye to translate 3D garment information into 2D lines.
Sketchbook Challenges
- **30-day challenge:** One garment sketch per day for 30 days
- **Collection sprint:** Design a 5-look mini collection in one sitting
- **Fabric rendering challenge:** Render the same garment in five different fabrics
Critique and Community
Share your work in online fashion illustration communities (Instagram, Behance, Clo 3D Community). Honest feedback from peers accelerates improvement dramatically.
Frequently Asked Questions
Q: How long does it take to learn fashion sketching?
With daily practice, most beginners reach a competent level within 3–6 months. Advanced illustration skills take 1–2 years of consistent effort.
Q: Do I need to be able to draw to do fashion design?
Basic sketching skill is important, but you don’t need to be an artist. Fashion sketching is a technical skill with learnable rules, not innate talent.
Q: What’s the best croquis template for beginners?
Search for “9-head croquis template” online. Many free printable versions are available. The Norma croquis from FIT is a widely used professional standard.
Q: Should I learn digital sketching or stick to hand sketching?
Learn hand sketching first to understand proportion and line quality. Add digital skills (Procreate or Illustrator) once you have solid fundamentals. Professional designers use both.
Q: What’s the difference between fashion sketching and fashion illustration?
Fashion sketching is quick and functional — used to develop ideas. Fashion illustration is a more refined, artistic representation intended for presentation, portfolio, or publication.
Continue Reading on Fashionnovation.com:
- Illustration, No Illusion
- Free and Paid Fashion Illustration Courses for you
- Types of Fabric: The Complete Guide — fashionnovation.com/types-of-fabric-fashion-designers-guide
- Pattern Making 101 — fashionnovation.com/pattern-making-beginners-guide
- Color Theory in Fashion — fashionnovation.com/color-theory-in-fashion
- 12 Fashion Illustrations Done by Students Which Will Blow Your Mind
You can write to us at fashionnovationfd@gmail.com
We read and publish your articles!

0 Comments