Pattern Making 101: A Complete Beginner’s Guide to Pattern Making in Fashion
Introduction
There is a moment in every fashion designer’s journey when understanding how a garment is constructed transforms everything else. That moment often arrives with pattern making.
A pattern is the blueprint of a garment — a flat, paper template for every piece of fabric that will be cut and sewn together to create a finished garment. Pattern making is the bridge between a sketch and a sewn garment, and it is one of the most intellectually satisfying skills in all of fashion.
This guide introduces the fundamentals of pattern making: what it is, the tools you need, the vocabulary you must know, the two main methods (flat pattern drafting and draping), and how to take your first steps toward creating your own patterns from scratch.
What is Pattern Making?
Pattern making is the craft of creating templates — called “patterns” — that represent each piece of a garment in flat, two-dimensional form. These patterns are used to cut fabric accurately so that when sewn together, the pieces form a three-dimensional garment that fits the intended body.
Patterns communicate every detail of a garment’s construction: the shape of every piece, the placement of darts, the location of notches, the grain line direction, and the seam allowances. A complete set of patterns for even a simple dress might include a front bodice, back bodice, front skirt, back skirt, collar, sleeve, waistband, pocket — each as a separate pattern piece.

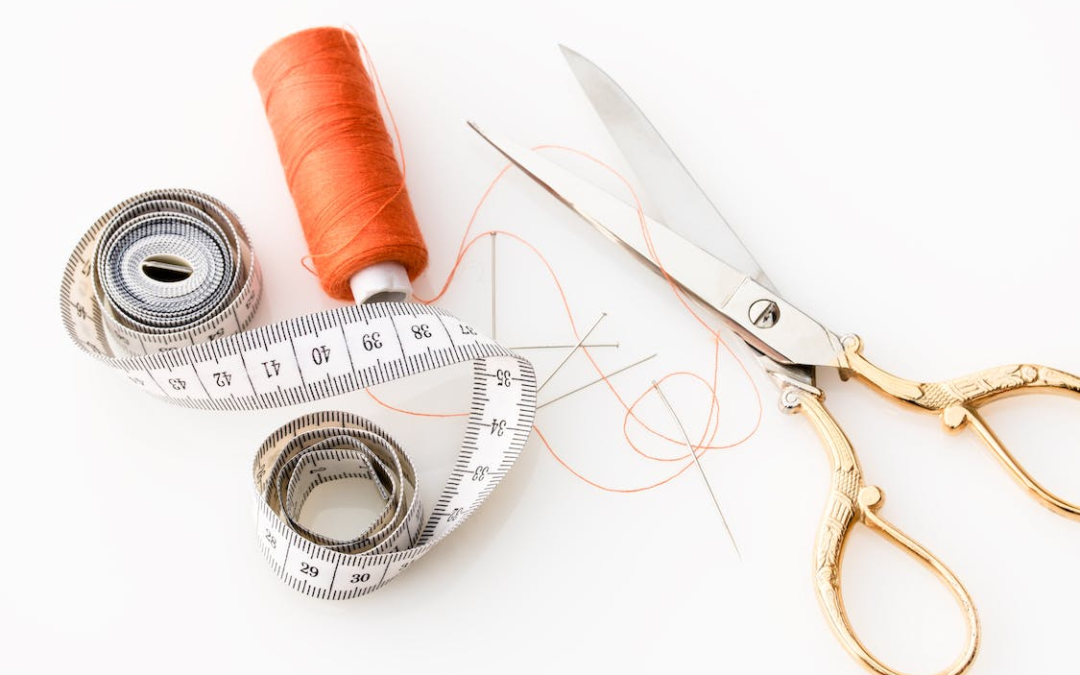
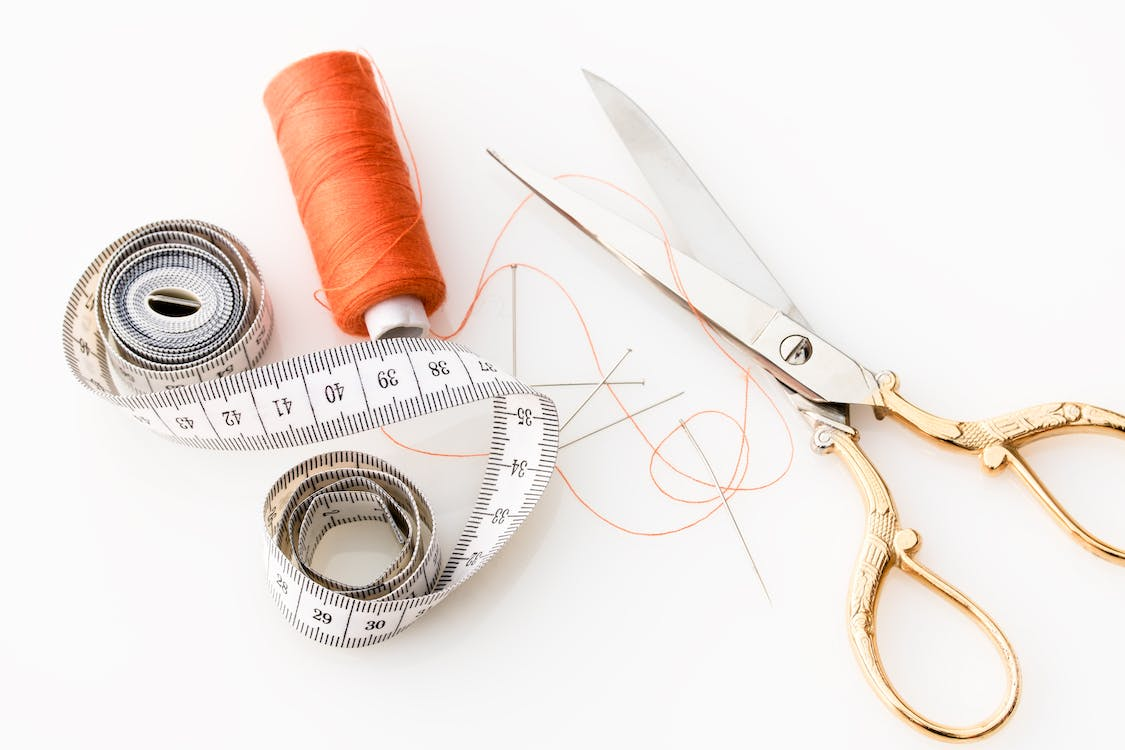
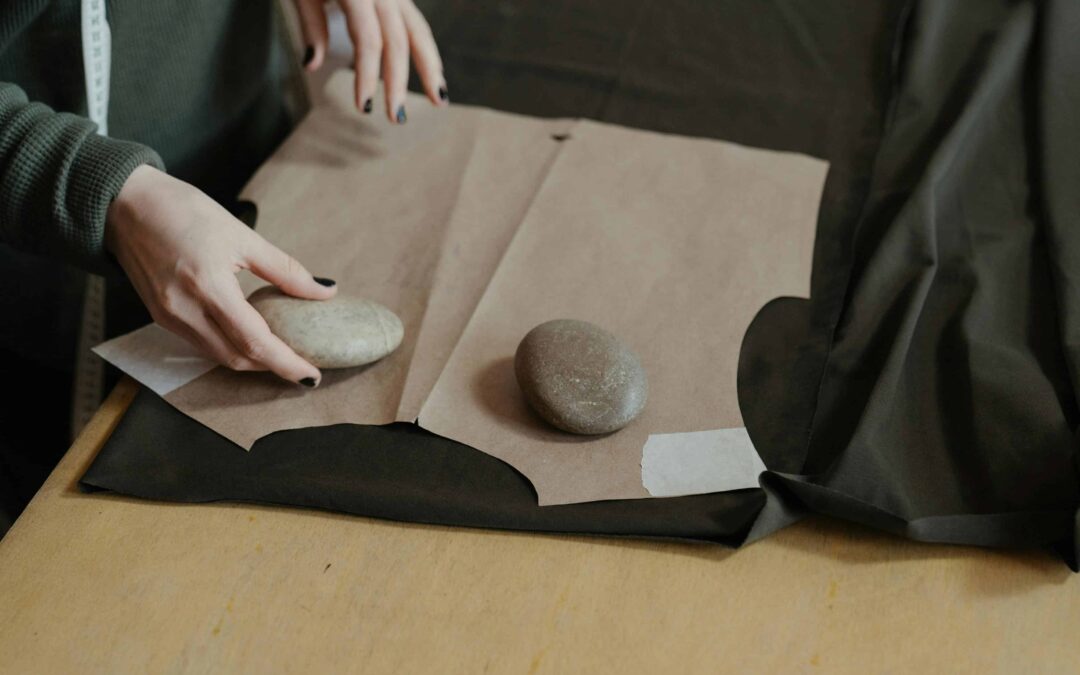
Sewing pattern pieces flat lay with rulers scissors and tailors chalk
Pattern Making Vocabulary You Need to Know
Before you begin, master this essential vocabulary:
Seam Allowance: The extra fabric added beyond the seamline to allow for stitching. Standard seam allowance in the US is 5/8 inch (1.5cm). Always confirm seam allowance before cutting.
Grain Line: An arrow drawn on pattern pieces indicating the direction the pattern should be placed on fabric, parallel to the selvage (woven edge) of the fabric. Proper grain alignment determines how the garment hangs and moves.
Dart: A folded and stitched tuck in fabric used to shape flat fabric around three-dimensional body curves (bust, waist, hips). Darts are fundamental to fitted garments.
Notch: A small V-shaped or rectangular cut into the seam allowance used to match pattern pieces accurately when sewing.
Ease: Extra room built into a pattern beyond the exact body measurement. “Wearing ease” allows comfortable movement. “Design ease” creates specific silhouette effects (a loose, boxy shape, for example).
Selvage: The finished woven edges running lengthwise along a bolt of fabric. Pattern grain lines are always parallel to the selvage.
Bias: The 45-degree diagonal direction across fabric. Bias-cut patterns create garments with natural stretch and flow.
Block / Sloper: A basic, fitted pattern template (without design details or seam allowances) used as the starting point for creating new garment patterns.
The Two Main Methods of Pattern Making
Method 1: Flat Pattern Drafting
Flat pattern drafting is the process of drawing pattern pieces on paper using measurements, rulers, and mathematical calculations. Starting from a set of body measurements, you draft a basic block, then manipulate it to create the desired design.
Advantages: Precise, consistent, reproducible. Ideal for structured garments and production environments.
Disadvantages: Requires understanding of geometry and math. Less intuitive for beginners. More difficult for complex, sculptural designs.
Method 2: Draping (Toile/Muslin Method)
Draping involves pinning fabric (usually muslin or calico) directly onto a dress form, shaping it to create the desired silhouette, and then transferring the draped shapes onto paper to create a pattern.
Advantages: Highly intuitive. Excellent for fluid, complex shapes. Sees the design in three dimensions from the start.
Disadvantages: Requires a dress form. Less precise for production purposes. Takes more fabric.
Most professional designers use both methods — flat drafting for structured, tailored pieces; draping for complex or fluid designs.
Tools and Supplies for Pattern Making
Pattern paper: Large sheets of brown Kraft paper, pattern dot paper (dotted grid for accuracy), or a pattern roll for drafting.
Rulers:
- L-square ruler (for right angles and long straight lines)
- French curves (set of curved templates for drawing bodice curves, armholes, necklines)
- Hip curve / curved ruler (for drawing hip and skirt curves)
- Clear gridded ruler (for seam allowances and parallel lines)
Marking tools: Pencils (always use pencil for patterns — erasable), marking chalk for fabric, tracing wheel for transferring patterns to fabric.
Pattern notcher: A small punch that creates clean notches in pattern pieces.
Pattern weights: Heavy metal weights to hold pattern pieces flat on fabric while cutting (an alternative to pins).
Tape measure: For taking body measurements and checking curved distances on patterns.
Dress form: Essential for draping; also invaluable for fitting flat-drafted patterns. Invest in a quality adjustable dress form matched to your most common size.
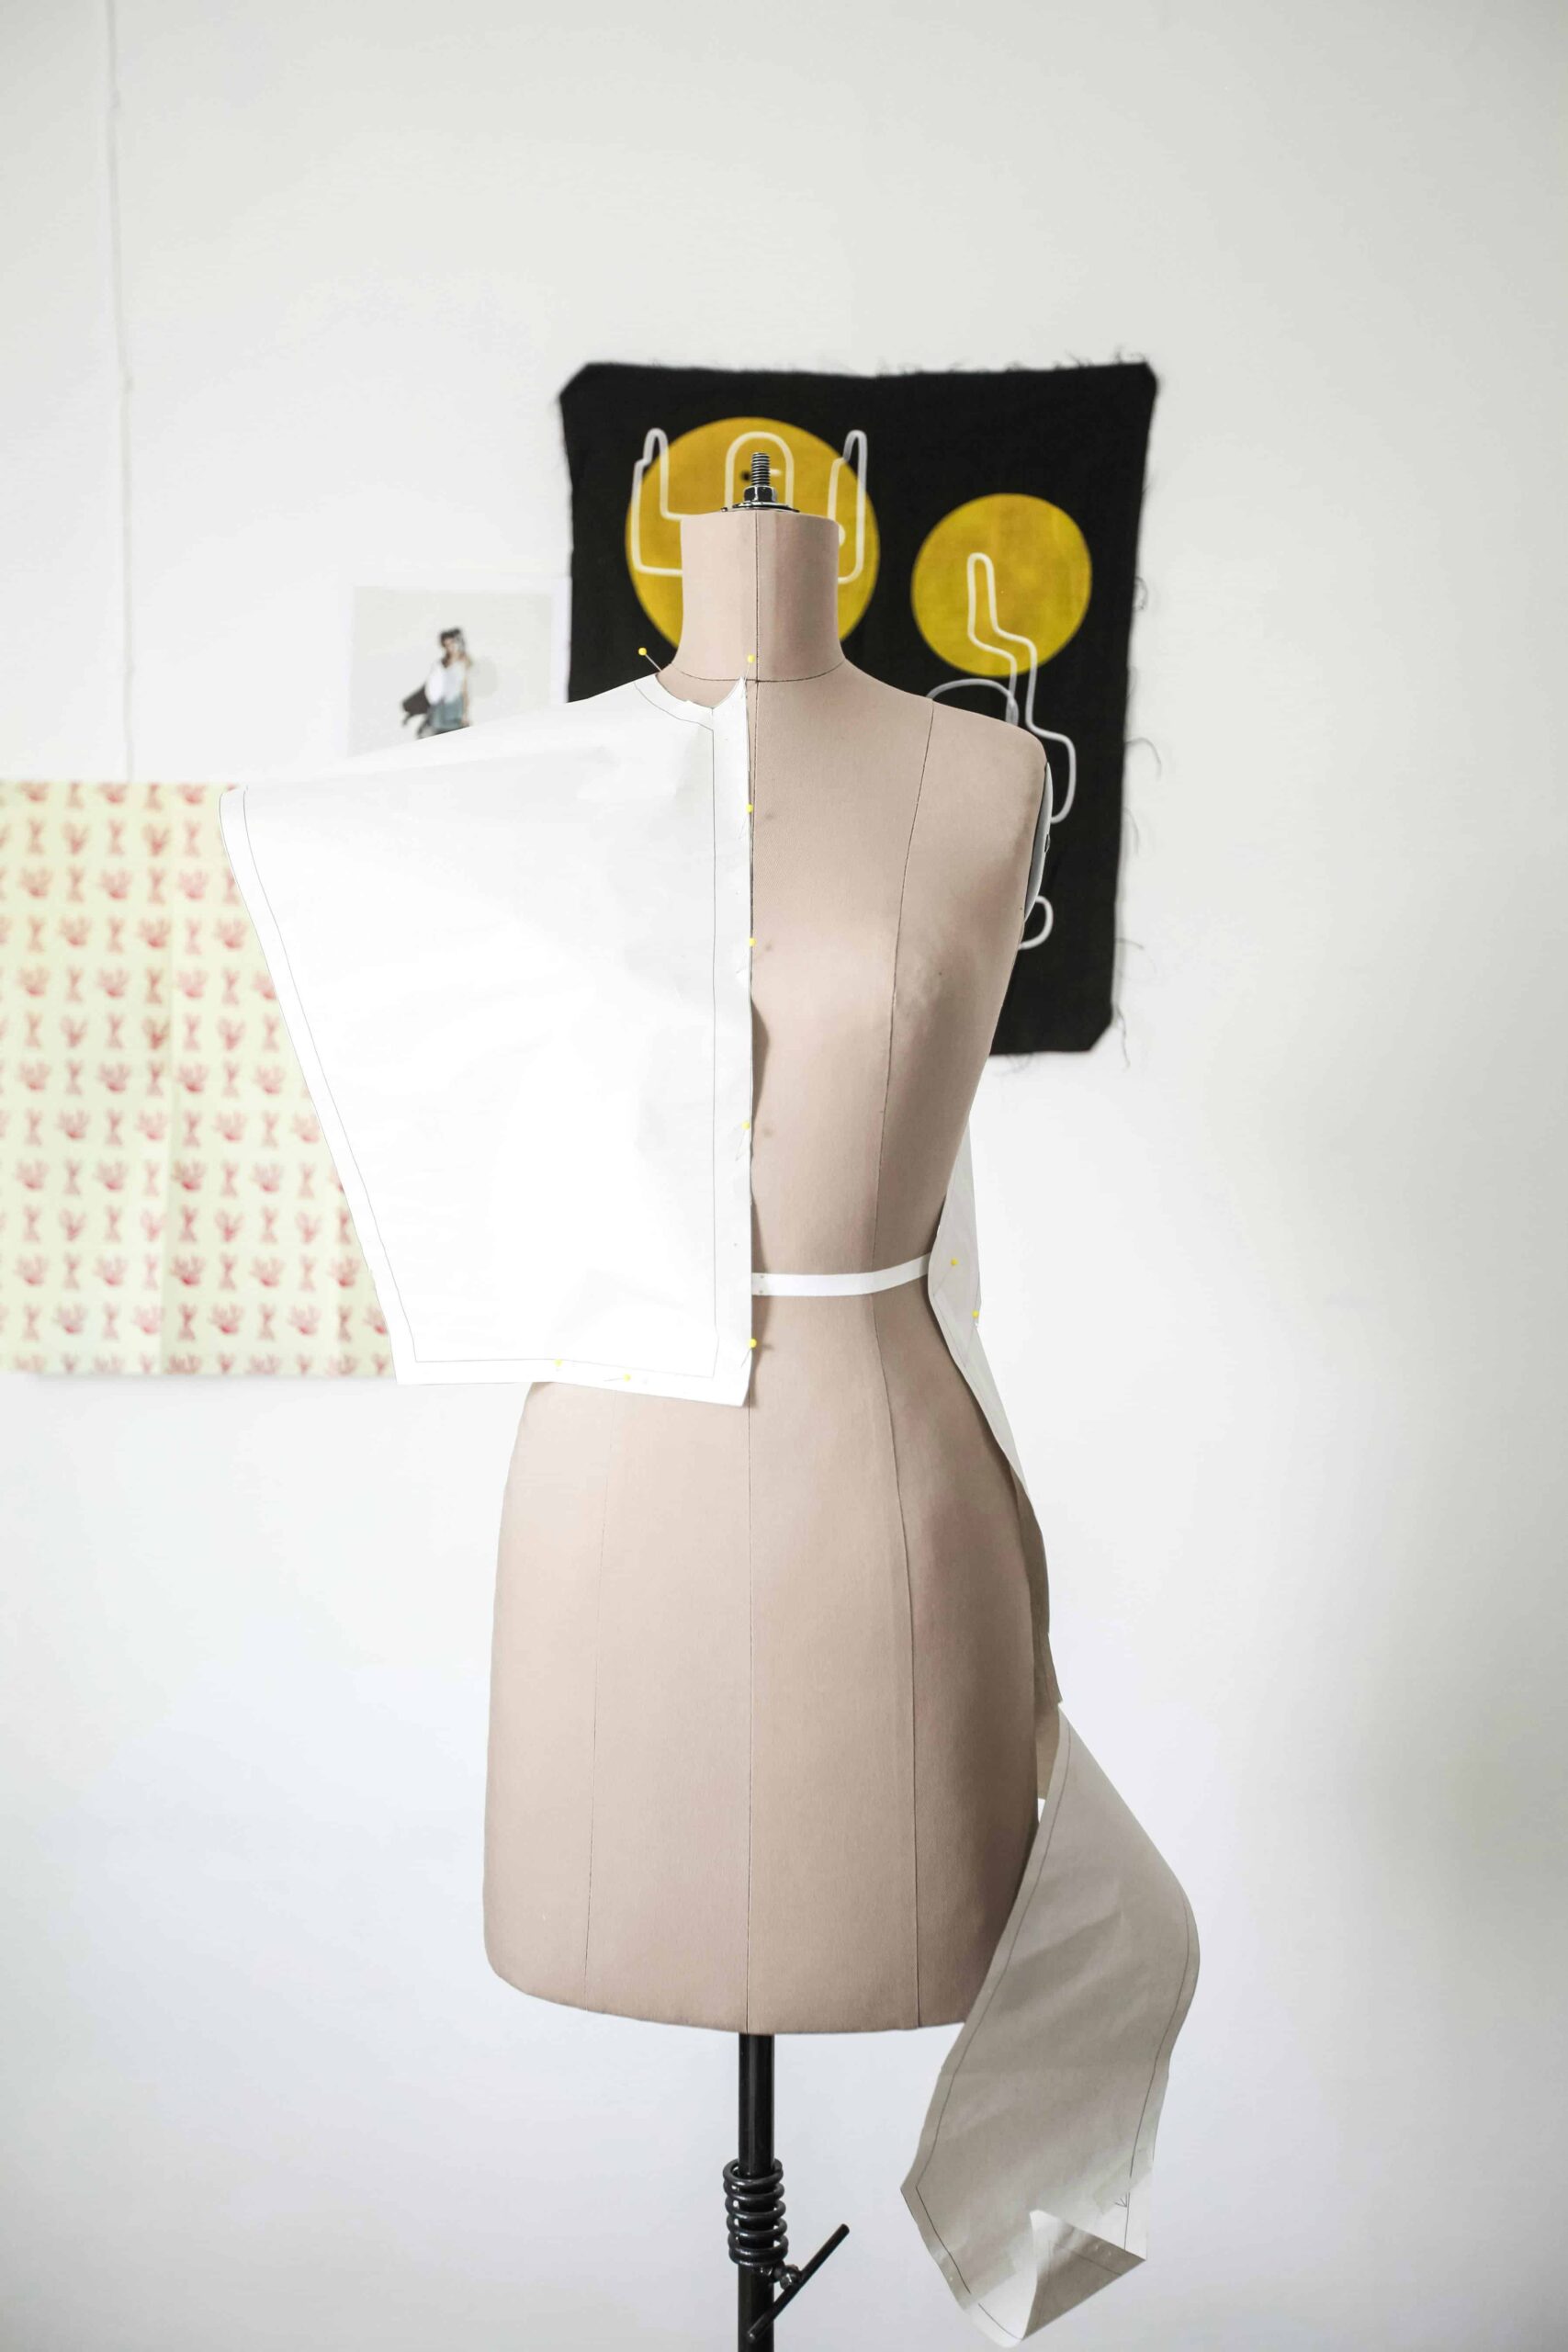
White dress form with fabric being draped and pinned for pattern development
Understanding Body Measurements
Accurate body measurements are the foundation of well-fitting patterns. These are the standard measurements used in pattern making:
| Measurement | Where to Measure |
|————-|—————–|
| Bust | Fullest part of the bust, level with nipples |
| Waist | Natural waist — narrowest part of the torso |
| Hips | Fullest part of the hips, approx. 8–9 inches below waist |
| Back length | Neck base (center back) to natural waist |
| Shoulder width | Across the back from shoulder point to shoulder point |
| Sleeve length | Shoulder point to wrist |
| Inseam | Crotch to floor (for trousers) |
| Neck | Base of neck circumference |
Always measure over appropriate undergarments. Take each measurement twice to verify accuracy.
How to Draft a Basic Bodice Block (Step-by-Step)
The bodice block is the foundation of virtually all upper-body garment patterns. Here is a simplified drafting sequence:
You Will Need
- Body measurements (bust, waist, back length, shoulder width)
- Large pattern paper
- L-square ruler, French curves, pencil
Step 1: Establish the Back Center Line
Draw a vertical line on the left side of your paper. This is the center back line.
Step 2: Mark Horizontal Lines
From the top of your center back line, mark these horizontal levels:
- **0:** Neck/shoulder (top)
- **Back length:** Natural waist level
- **¼ bust measurement + 1″ ease:** Bust level (measure down from shoulder)
- **½ way between top and bust level:** Armhole depth (approximate)
Step 3: Draw the Back Width
At each horizontal level, measure out from the center back line:
- **At shoulder:** ½ back width measurement
- **At bust:** ¼ bust measurement + ½” ease
- **At waist:** ¼ waist measurement + ½” ease
Step 4: Shape the Side Seam
Connect the bust and waist points with a slightly curved line that tapers inward at the waist. This is the side seam.
Step 5: Draw the Armhole
Using a French curve, draw the back armhole — a curved shape from the shoulder point sweeping down to the side seam level.
Step 6: Draw the Neckline
The back neckline is a shallow curve from the center back (approximately 2cm down from the shoulder line) to the shoulder point.
Step 7: Trace the Front
The front bodice is drafted using the same principles but with slight modifications to account for the bust curve (front neck is deeper, bust dart is added).
Step 8: True the Pattern
“Truing” means checking that all the seam lines match correctly between pieces (that the side seam of the front bodice matches the side seam of the back bodice in length, for example).
Adding Seam Allowances
Once your pattern is drafted, you must add seam allowances before cutting fabric. Seam allowances are added equally around all seamlines.
Standard seam allowances:
- 1.5cm (5/8″) — standard for most seams
- 2.5cm (1″) — for areas requiring adjustment (waistbands, trouser hems)
- 3–5cm (1.25–2″) — for hems
Use a parallel ruler or mark points at consistent distances from the seamline and connect with a ruler.
Pattern Grading Basics
Grading is the process of proportionally enlarging or reducing a pattern to create different sizes. Most patterns are drafted in one size and then graded up and down to create a size range.
Grading involves moving pattern points outward (for larger sizes) or inward (for smaller sizes) by specific amounts at key points (bust, waist, hip, shoulder), then connecting the new points smoothly.
Professional grading is done by specialist graders or using CAD (computer-aided design) grading software like Gerber AccuMark or Lectra. For small designers, manual grading using a grading grid is a practical starting skill.
Common Pattern Making Mistakes to Avoid
- **Forgetting to add seam allowances.** Cut pieces without seam allowances and you’ll have a garment that is too small. Always double-check.
- **Ignoring grain lines.** Cutting pattern pieces off-grain distorts the garment’s hang and drape permanently.
- **Not testing with a muslin first.** Always make a test garment in inexpensive muslin/calico before cutting your fashion fabric.
- **Using approximate measurements.** Accuracy is non-negotiable. Measure twice, cut once.
- **Not labeling pattern pieces.** Every pattern piece needs: piece name, garment name, size, cut quantity, grain line, and date.
Recommended Learning Resources
Books:
- *Metric Pattern Cutting* by Winifred Aldrich (the UK industry standard text)
- *Patternmaking for Fashion Design* by Helen Armstrong (the US standard)
- *The Complete Book of Fashion History* — pattern history context
Online courses:
- Coursera: Fashion Design courses from Parsons
- Domestika: Pattern Making for Dummies (beginner-friendly)
- YouTube: Professor Pincushion channel
Continue Reading on Fashionnovation.com:
- The Ultimate Guide to Fashion Sketching for Beginners
- Types of Fabric: The Complete Guide — fashionnovation.com/types-of-fabric-fashion-designers-guide
- A Discussion on the Pattern Making Process for a Selected Dress
- Color Forecasting in Fashion
- Color Psychology: Which Color Means What?